RECOMMENDATIONS
-
Assess the crop growth stage beforehand to set optimal spraying parameters.
-
Following app updates, some features may not appear exactly as shown in this document. Please refer to the online Help Center for the latest documentation.
-
Some features are available only with a valid license.
A treatment consists of one or more fields treated with the same plant protection products and the same parameters of use (speed of work, height of the booms...).
Mission creation
-
In the app, click New Mission to configure a treatment mission.
.png?cb=8130da94ff2f294da756406b2fe0c0d9)
-
Select the type of application.
%20(1).png?cb=b8a0ac07c45e1a7cc89e3c5690c3a42c)
-
Select the crop and/or the weed to treat.
-
Select the turf species.
-
Select the turf type.
-
%20(2).png?cb=95866103d5f551e37549fdd565cad35e)
-
Select the Weed selection.
%20(3).png?cb=9679d31d5b054b8c1733b743fdf92bd1)
-
A target size can be set to spray only targets of the corresponding size. The diameter can be set from 0 to 50 cm.
INFORMATION
The value taken into account by the cameras is the surface area in cm2. Two plants of different size but similar surface area will both be sprayed.
%20(4).png?cb=f93d424b8ae34f4b74441ae87876ea59)
-
The working pressure can be set from 2.2 bar to 3.5 bar.
INFORMATION
It is recommended to leave the default setting at 3.0 bar.
-
The target density is linked to the selected working pressure and can be set at a defined speed.
-
The working width can be changed from 2.25 m | 7.46 ft to 0 in increments of 0.04 m | 0.15 ft.
%20(5).png?cb=beb8ee05e2c367845d698e09fca2b986)
-
Define the owner and field. If it does not exist, create it by clicking on + .
%20(6).png?cb=3f561d398897df639d85bced763702f7)
-
Verify all configured parameters in the mission summary.
%20(7).png?cb=e01d6c83d6d28e059de4289830ffc66e)
CAUTION
Incorrect mission configuration can result in sub-optimal treatment performance and may negatively impact turf quality.
-
Click on New mission to launch the configured mission.
Performing the treatment
-
After configuring the mission, go to Maintenance > Images and check that weeds are correctly detected in real time.
INFORMATION
Incorrect mission settings may result in incorrect detection and unintended spraying.
Nozzle priming and spray activation
-
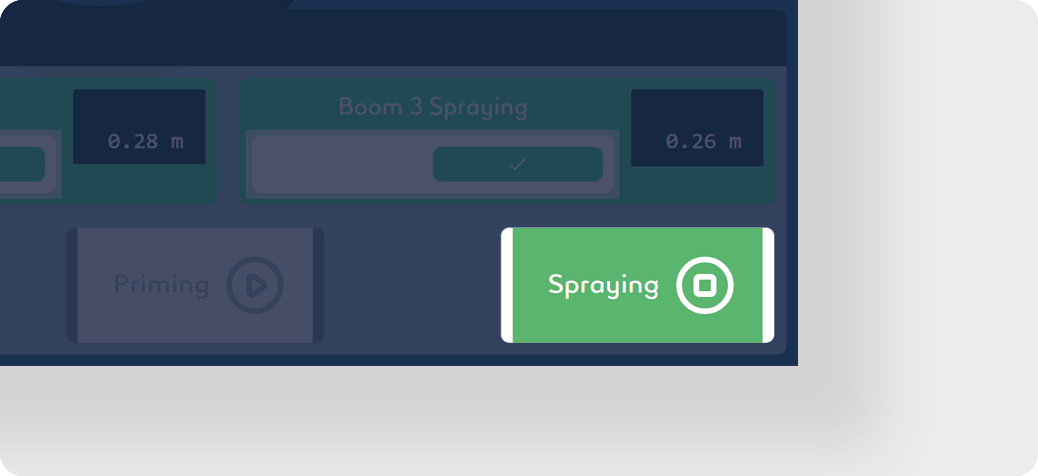
Ensure that the valves are in Spraying position mode.
-
Activate Priming mode to prime the nozzles. Priming stops automatically.
-
Activate AutoBar and AutoSpray.

-
Click on Spraying. The autonomous detection system is now activated and sprays automatically when the machine moves forward.
INFORMATION
During an active mission, tap Spraying to pause spraying.
%20(12).png?cb=0003a80671dd5e938541290cde479514)
Live monitoring
-
Adjust the speed of the tractor according to the required l/ha ().
-
Ensure that the pressure indicated on the user interface is correct.
-
The operator must monitor speed and pressure throughout the job.
Headland turning
If AutoSpray is activated:
-
Raise the two lift arms
-
Change line
-
Lower the two lift arms

If AutoSpray is deactivated:
-
Click on Spraying
-
Raise the two lift arms
-
Change line
-
Lower the two lift arms
-
Click on Spraying

On-field spray mixture preparation
INFORMATION
The amount of spray mixture is determined by the operator's visual inspection.
-
Pause the treatment by clicking on Spraying.
-
Calculate the volume of spray mixture needed to continue the treatment: V = (A - CA) × LHA
-
V = volume of mixture to be sprayed
-
A = total surface of the field
-
CA = surface already treated (covered area)
-
LHA = consumption (l/ha)
-
-
Prepare the calculated mixture volume according to the instructions in the following chapter Mixture preparation.
-
Resume treatment.
Mission completion
-
Click Spraying to stop the treatment.
-
Click Stop mission to end the treatment and save the data.

Machine cleaning
The residual volume of the spray mixture can be drained in two different ways. These two cases are described in separate chapters below:
CAUTION
Comply with all local, state/provincial, and federal/national requirements applicable to the waste disposal of any spray liquid residues or leftover chemicals.