
Before adjusting the working pressure, make sure to prime the pump for optimum operation.
WARNING
If this operation is carried out while the fluid circuit contains spray mixture, it is imperative to strictly respect the regulations concerning the use of personal protective equipment (Safety instructions | Personal protective equipment (PPE)) for herbicides, fungicides, insecticides, or fertilizers, as well as the nozzle cleaning procedure.
For machines manufactured before September 2026, follow the procedure below. For the manufacturing date, refer to chapter Manufacturer's plates.
-
Make sure the pump is switched off.
-
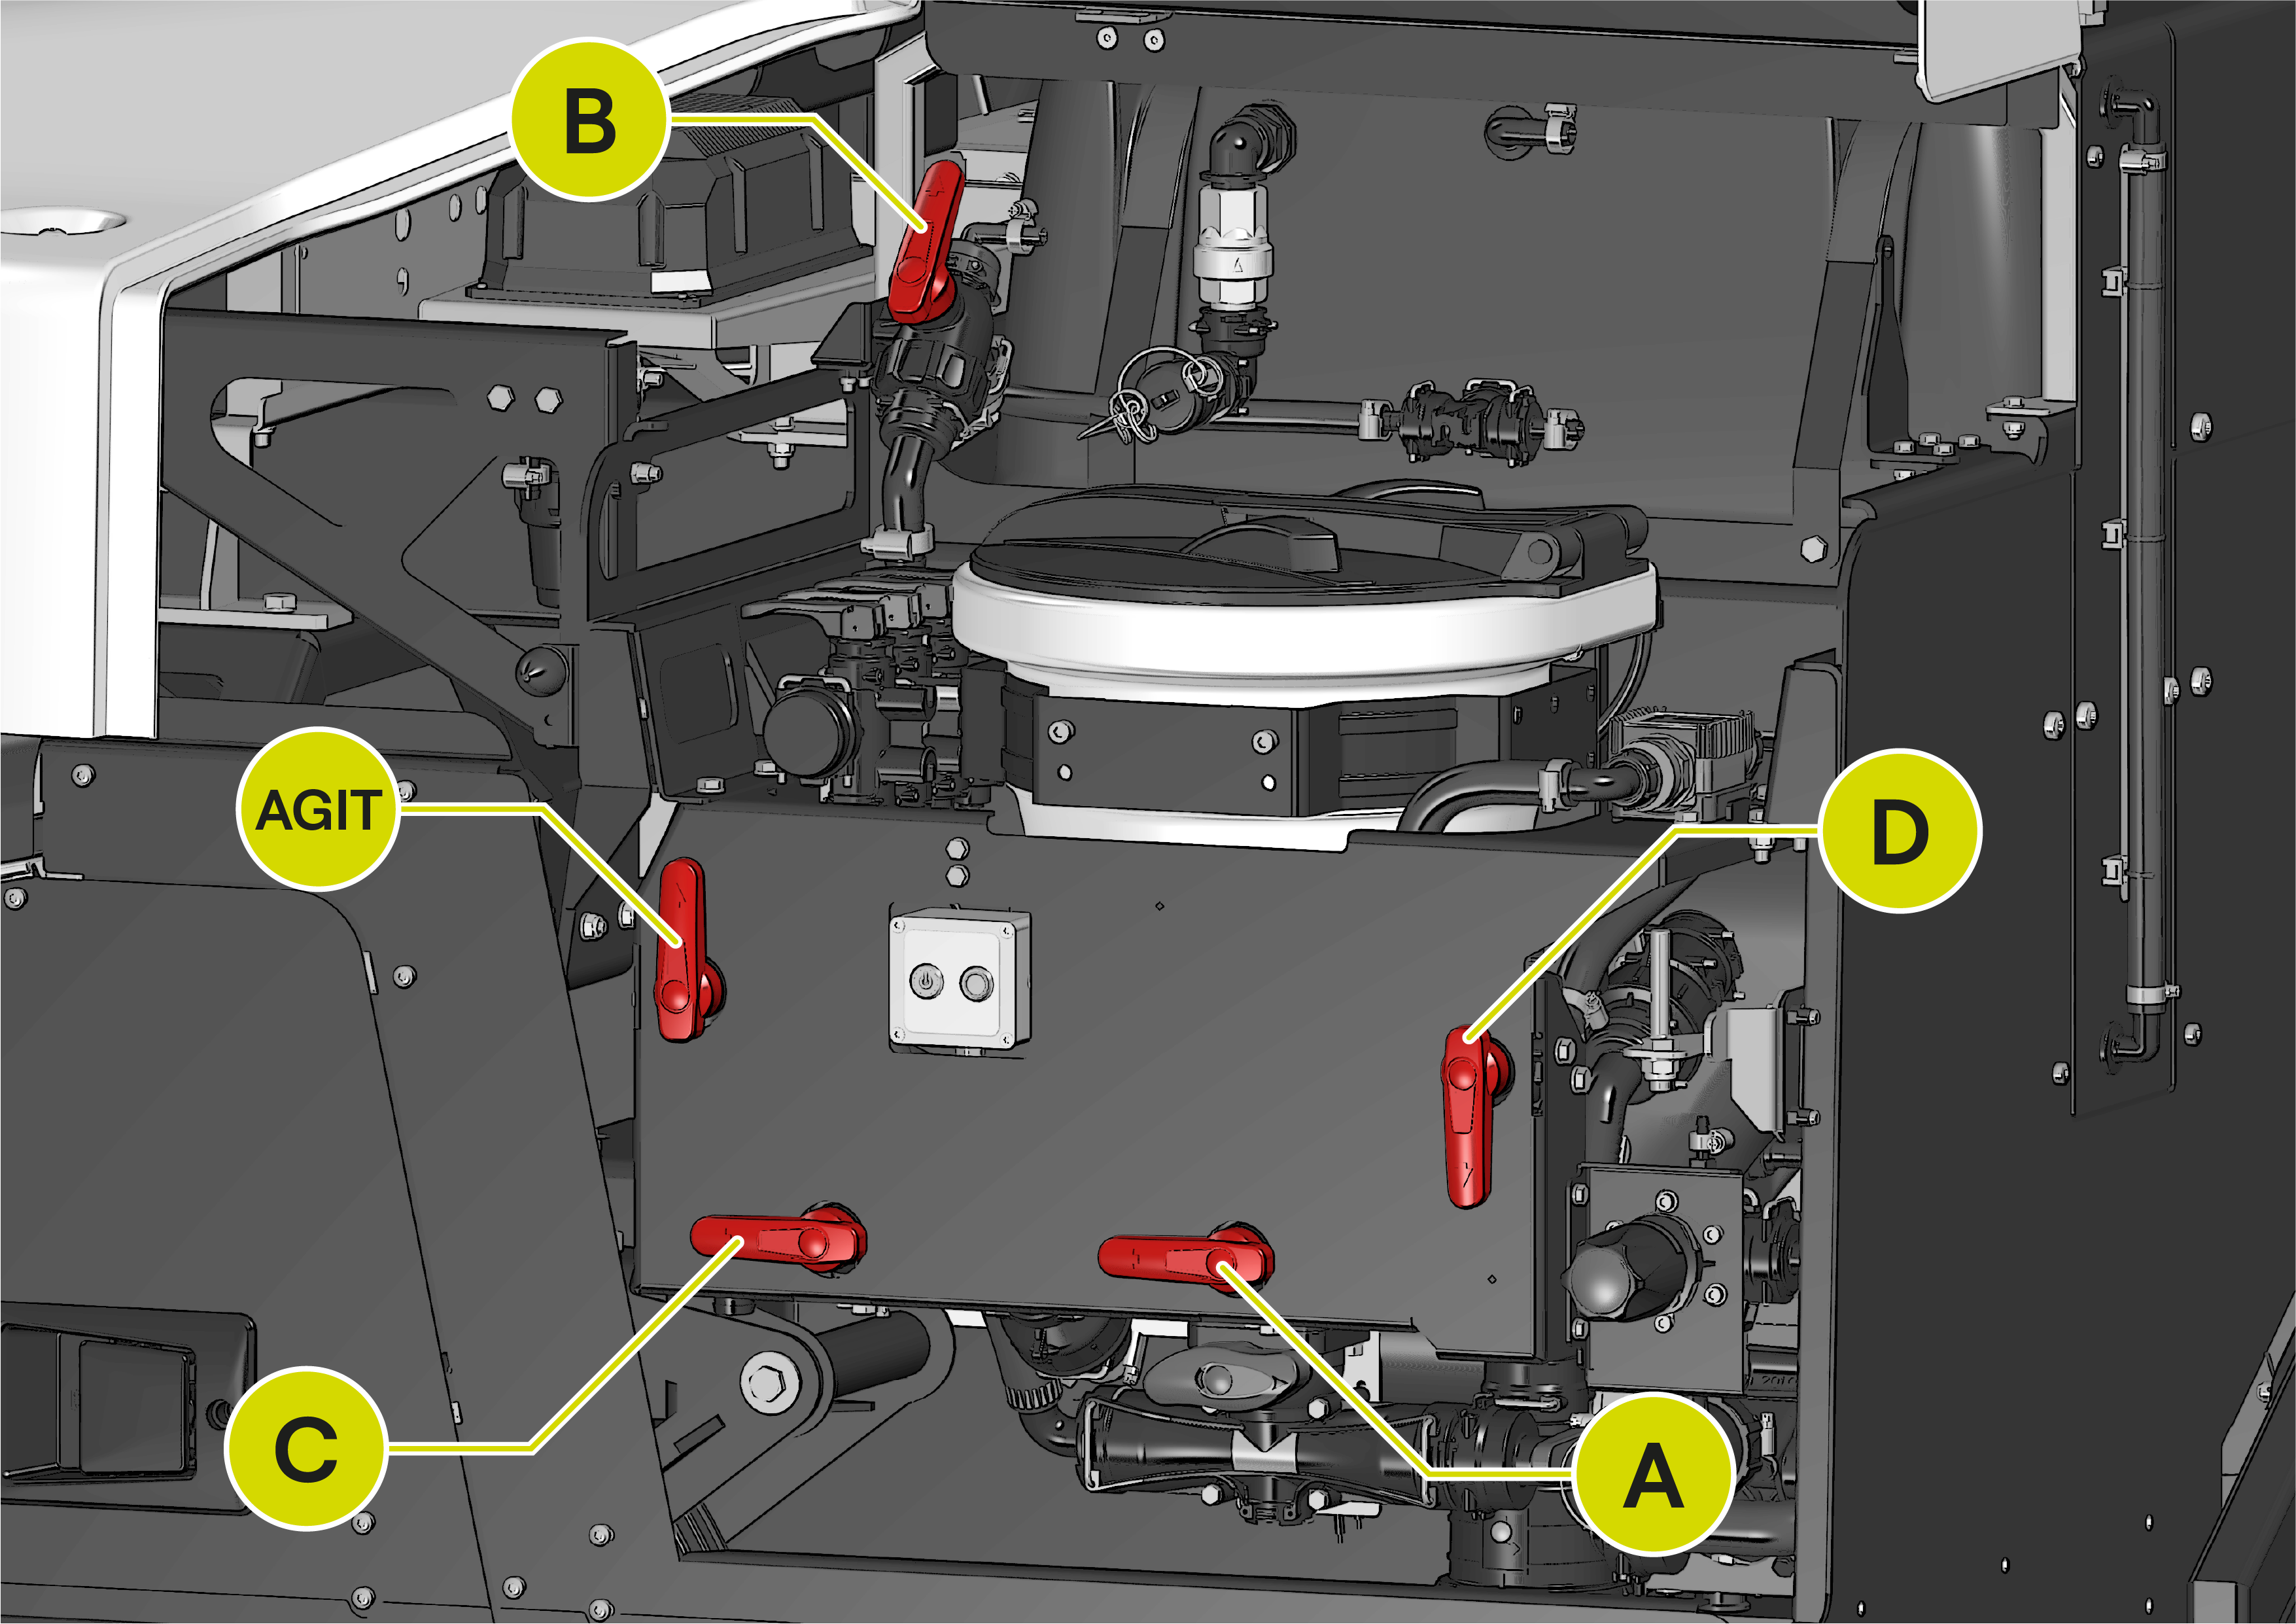
Position the valves in Spraying position mode and set the AGITATION valve to HIGH + LOW.
-
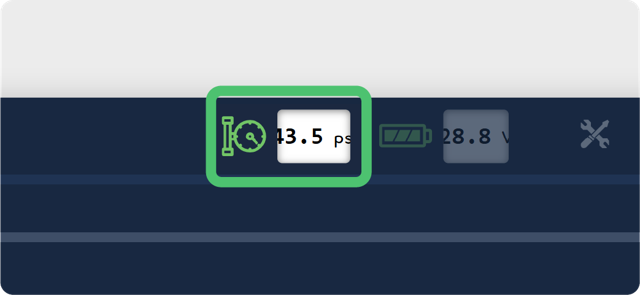
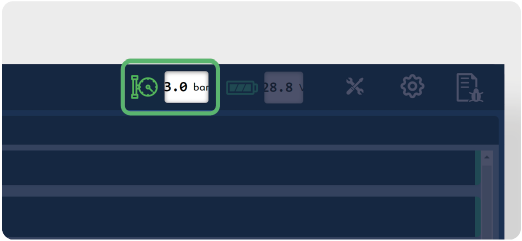
Start the pump and wait for the pressure to stabilize.
-
If the pressure does not stabilize, check that there are no leaks and ensure that the liquid level in the selected tank is sufficient.
INFORMATION
Valve C selects the tank: position 5 for the spray mixture tank and position 6 for the water tank.
-
To adjust the working pressure, refer to the following chapter (Adjusting the working pressure).
For machines manufactured from September 2026, follow the procedure below. For the manufacturing date, refer to chapter Manufacturer's plates.
-
Make sure the pump is switched off.
-
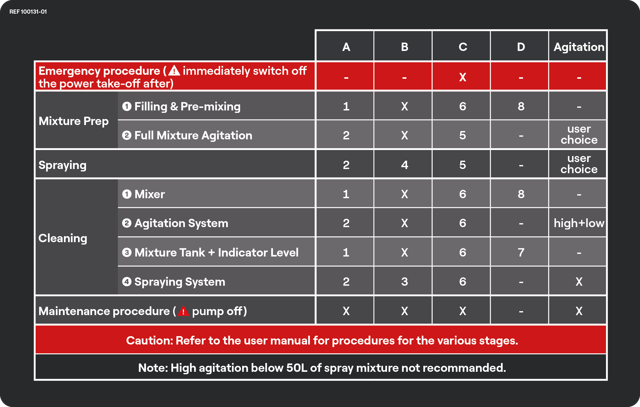
Position the valves in Mixture Prep : 1. Filling & Pre-mixing position mode.
INFORMATION
Do not use this 3D illustration as reference. Refer to the position modes table.
-
Open the L1 lever on the induction hopper.
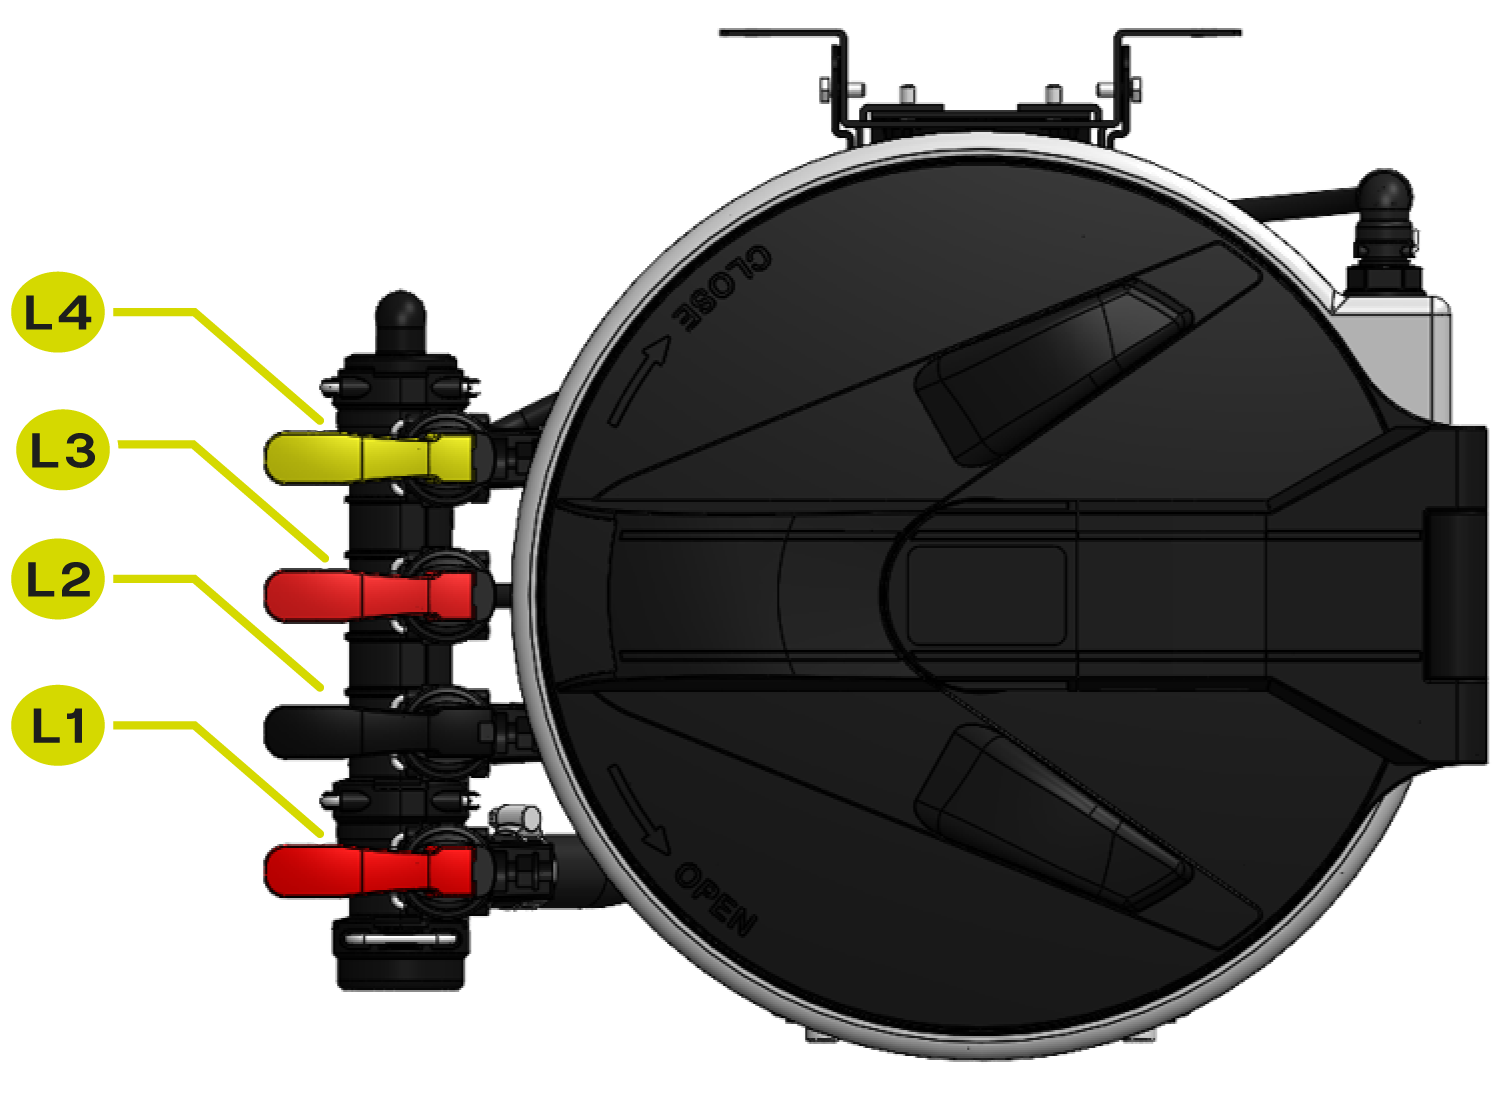
-
In the tractor, set the power take-off (PTO) speed to 350-400 rpm (do not exceed 450 rpm).
-
Loosen the pressure valve P as much as possible.
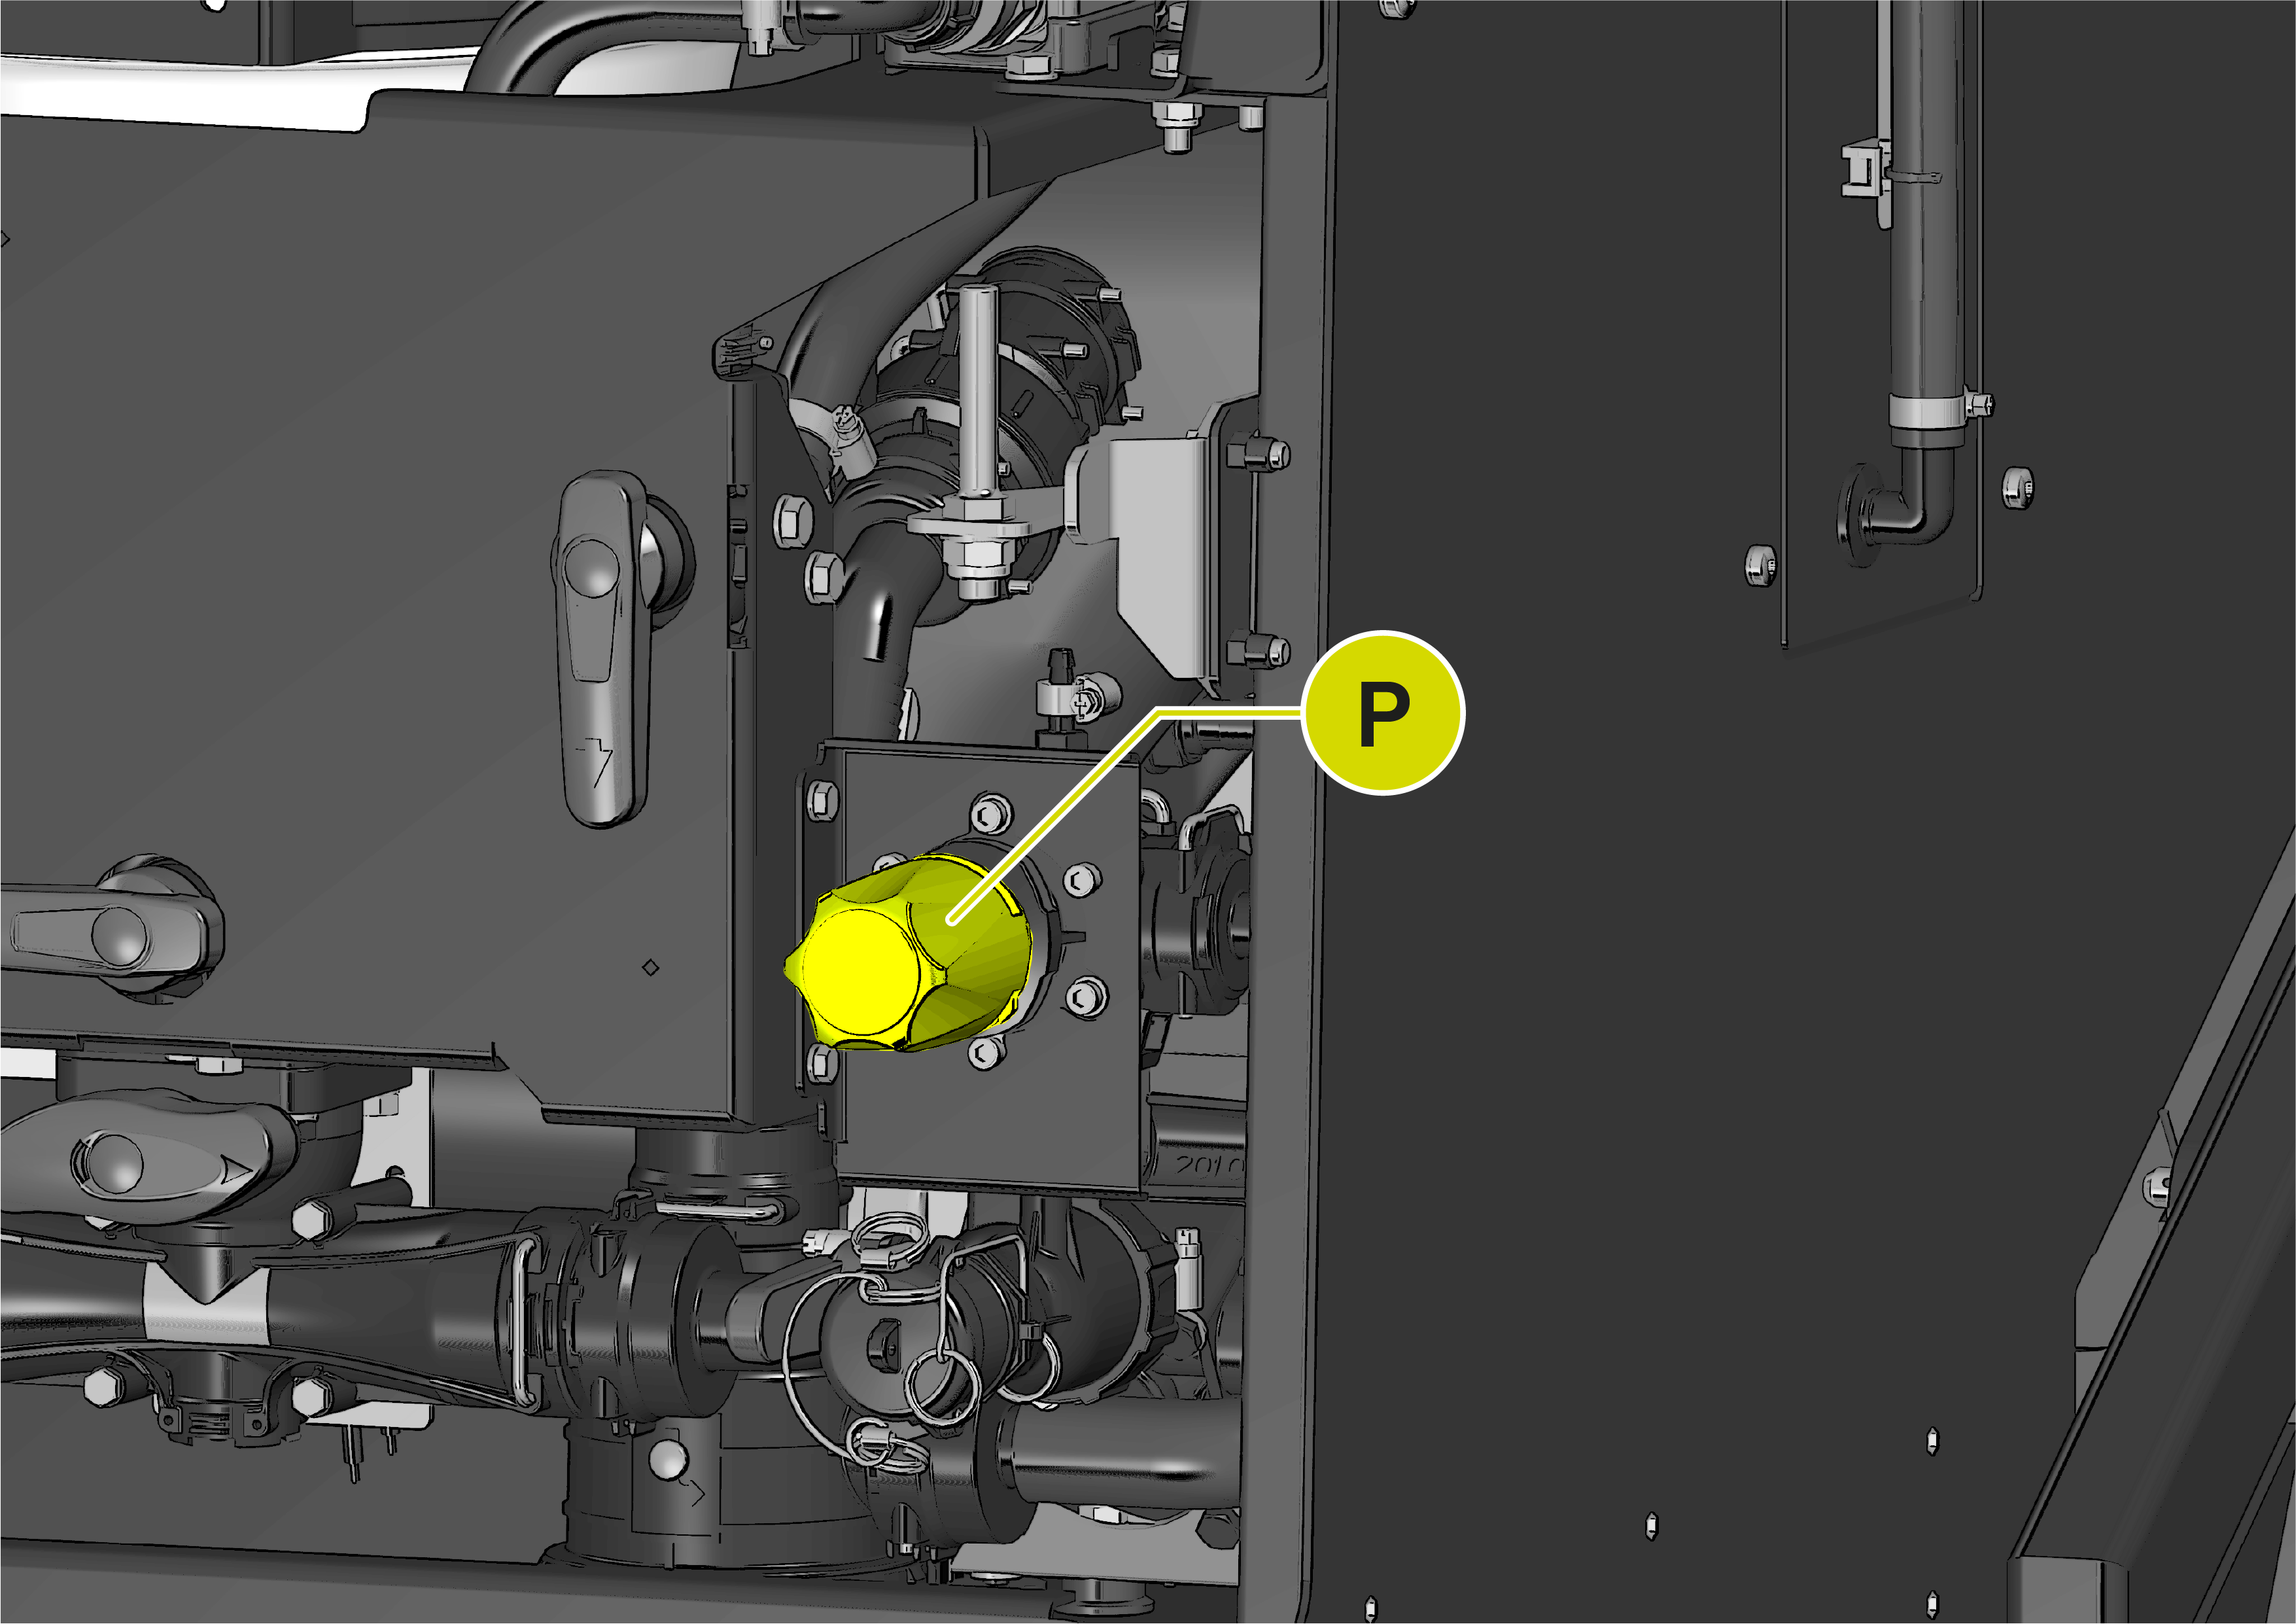
-
Wait until the flow meter reaches a value between 5 to 10 L | 1.3 to 2.6 US gal.
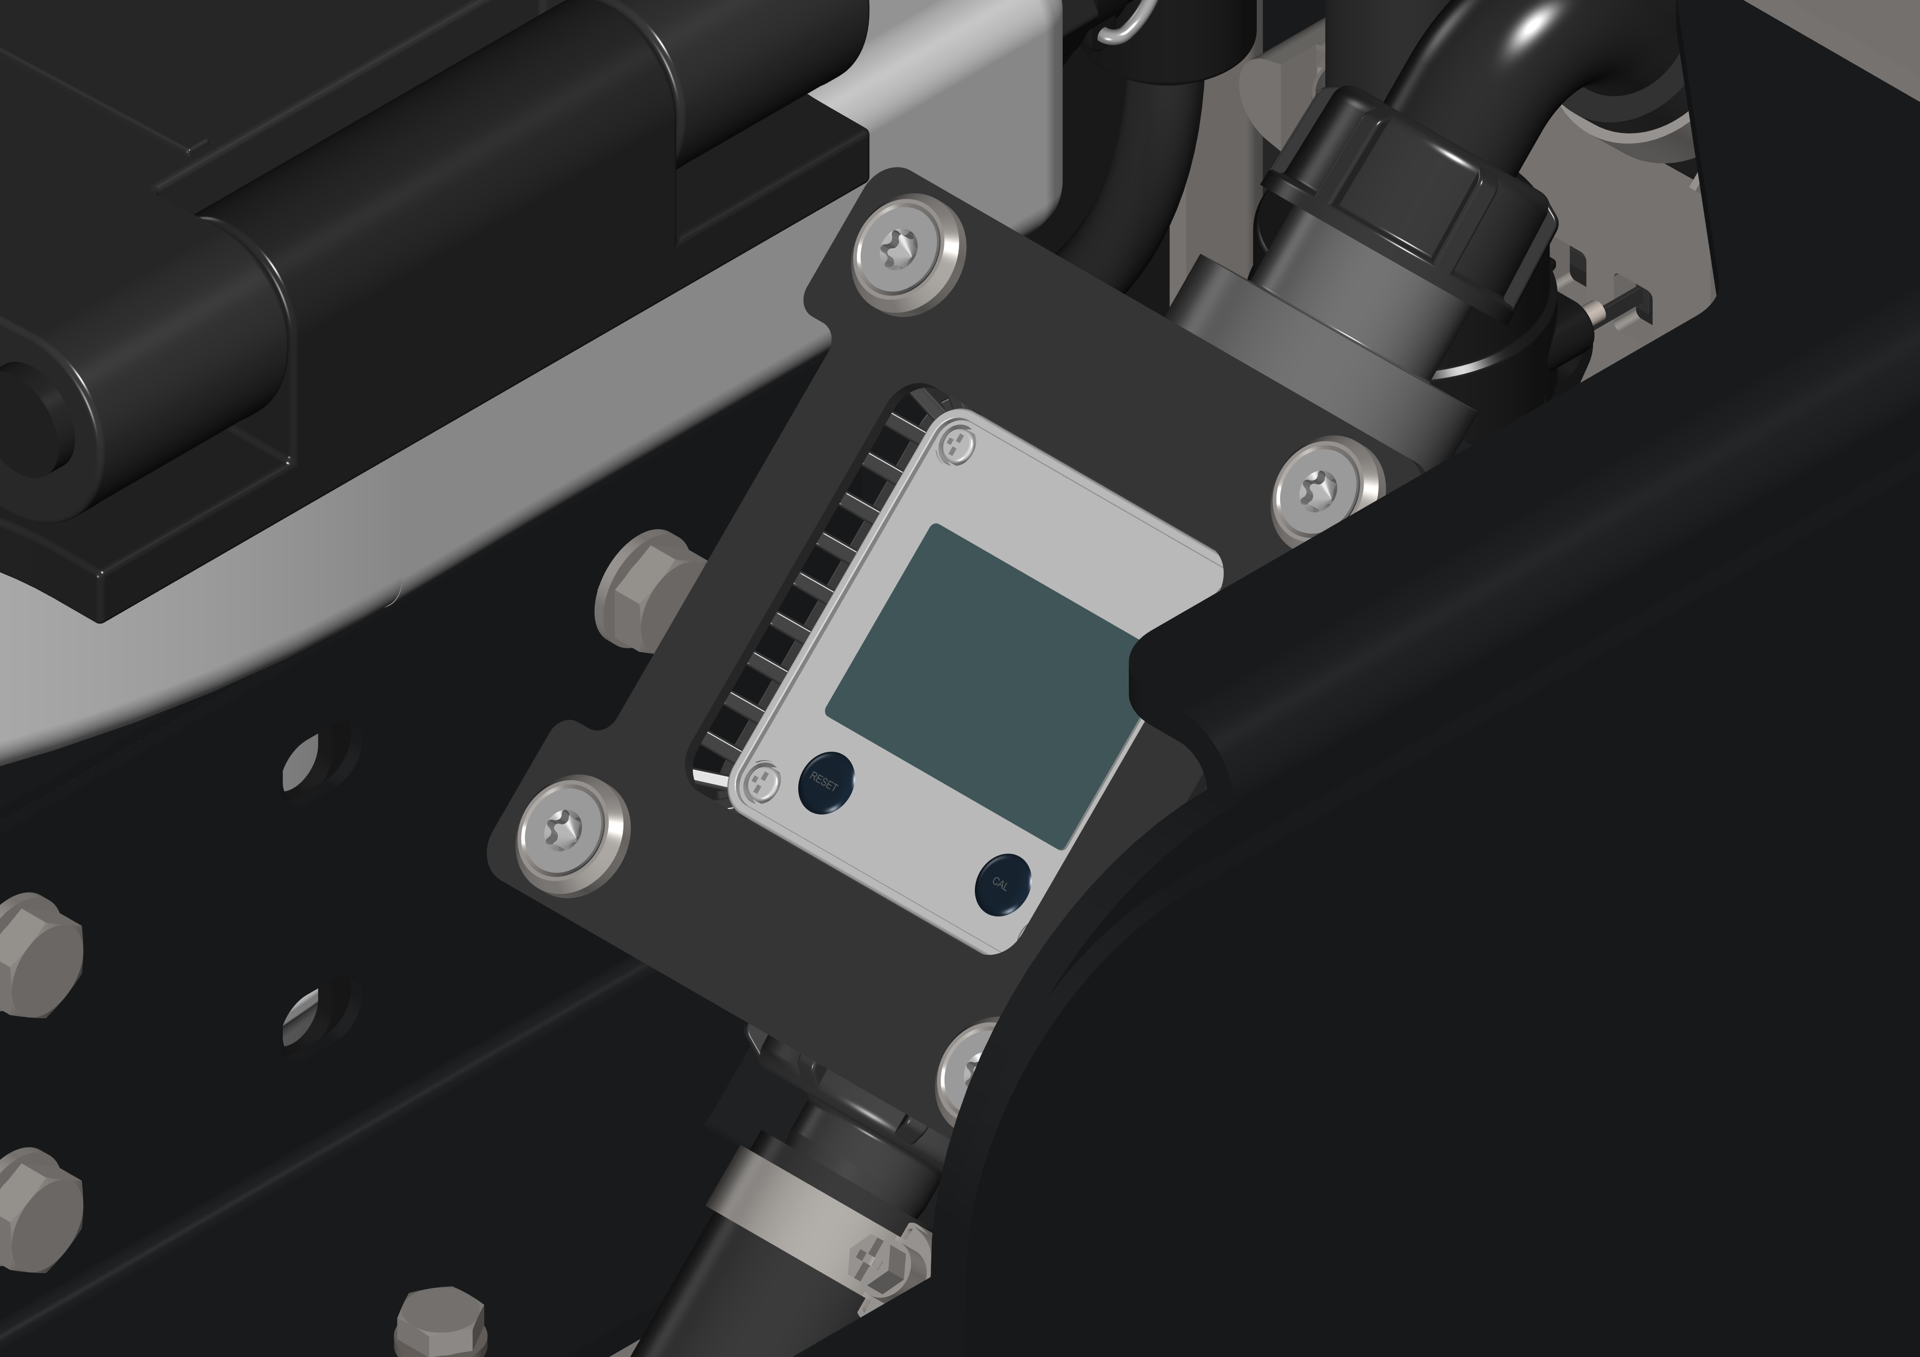
-
Tighten the pressure valve P until the pressure gauge of the machine reaches 4 ±0.2 bar | 29 ±2.90 psi. If the pressure varies more than 0.2 bar | 2.90 psi, repeat the process.
-
Close the L1 lever.
-
To adjust the working pressure, refer to the following chapter (Adjusting the working pressure).